DocumentationTelegram Bulk Sender PRO OverviewBulk Sender PRO How to Use
How to Use
Follow this workflow from a fresh install to your first bulk DM campaign.
Step 1 — Settings
- Open the Settings tab.
- Enter your API ID and API Hash from my.telegram.org.
- Configure default delays, daily limits, and theme preferences.
- Click Save All Settings.
Step 2 — Add Accounts
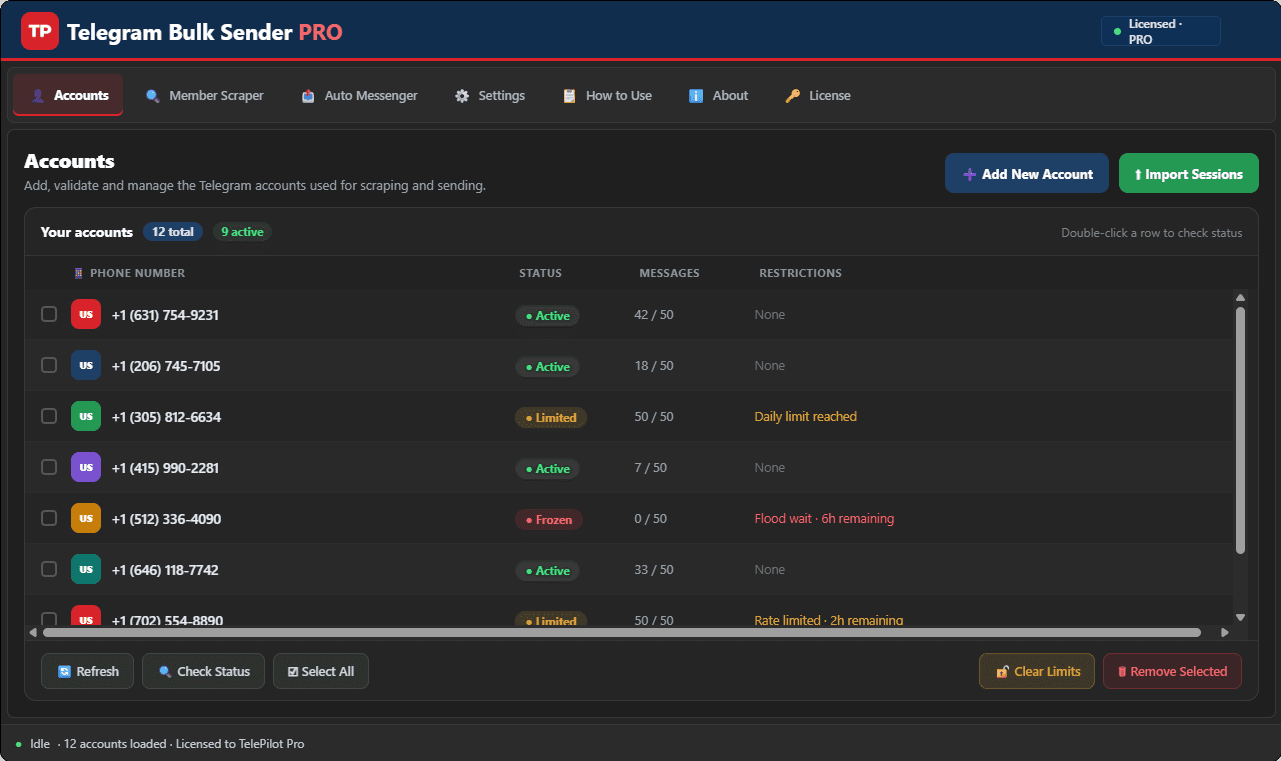
- Open the Accounts tab.
- Click Add Account and complete the Telegram login code (and 2FA password if asked).
- Add one or more accounts for rotation during campaigns.
- Run health checks and prefer accounts marked healthy.
Step 3 — Scrape Members
- Open Member Scraper.
- Load groups your account can access and select a target group.
- Choose an activity filter (24h / week / month) or use hidden-member scanning.
- Export the member list to CSV.
Step 4 — Run a Bulk Campaign
- Open Message Sender.
- Import your CSV member list or paste usernames.
- Write your message template and attach media if needed.
- Set delays, per-account caps, and select accounts for rotation.
- Start the campaign and monitor delivery status in real time.
Start with conservative limits on new accounts. Increase volume only when accounts stay clean and FloodWait errors are rare.
Only message people you are allowed to contact and comply with Telegram's Terms of Service.
Interface Screenshot
Frequently Asked Questions
Where do I download TelegramBulkSenderPRO.exe?
After purchase, download from My Licenses or Purchases in your customer dashboard. The EXE is not a public direct link.
Do I need my own Telegram API credentials?
Yes. Create your own API ID and API Hash at my.telegram.org and enter them in Settings. Shared credentials often trigger CAPTCHA blocks.
Can I send media in bulk campaigns?
Yes. The Message Sender tab supports text and media attachments with customizable delays and per-account daily limits.